Instagram continues to be one of the most used apps in history, which is why having a shop on the social network allows companies to advertise, grow and possibly succeed. Today we tell you how to create one.
what are the first steps to follow?
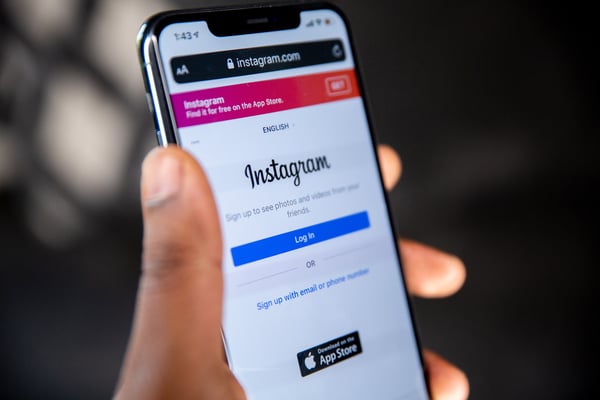
- First of all, to create your account you must take into consideration that Instagram is already part of Facebook, for that reason, the first requirement or step to create your shop on Instagram is to have your profile linked to your Facebook account .
- The second step is to have a professional profile. The main differences with a personal account are the buttons that appear in the biography such as contact, schedule, insights, etc. In addition to, of course, the shopping tool. Both of these can be changed in the Instagram settings. To do this, follow these steps: Profile - Settings - Account - Change account type - Switch to a business account.
- Finally, in these first steps, remember that you need to have used the account beforehand. There is no minimum number of posts or days of use, but the app requires you to have used the account before creating a shop. Otherwise, the app will say that you don't have a presence on the social network and that it would be better to get one before opening a shop.

how can I upload my products?
As we have already told you, the link with Facebook is essential to create your shop on Instagram. To get it, go to Meta Business Suite in your Facebook profile and in the menu on the left side you will find TRADE or sales manager .
Then select the Facebook account you want to create and click on the blue button on the right to ADD STORE. Here the paths diverge depending on whether you have an online business that you want to diversify or if you are taking advantage of this new Instagram feature to start selling your products.
If you already have an ecommerce shop, you can sync on the right "link with partners". Otherwise, click NEXT at the bottom right. Now the configuration begins. Think about how you want to create your shop and how you are going to manage it. Here are the options you can choose from:
- Choose purchase method:
-Finalise purchase on another website: this will redirect the customer from Instagram to your ecommerce, sales will be made from that portal and not from the app.
-Checkout with Facebook or Instagram: The entire purchase process is carried out within the application, without leaving it at any time, and once completed, you can continue browsing the social network without any interruption.
-Finalise purchase with message: To confirm the purchase, it takes us to a conversation in a messaging application (WhatsApp Business is required, for example).
- Choose sales channels: You can choose whether to sell your products through Facebook or directly through Instagram.
- Add products. Once you have decided which application will operate your purchases, it is time to upload the products to the shop, in the form of a catalogue. Here again, it makes a difference for those who already have an ecommerce, as they only have to add the URL of the website. If this is not your case, or if you want to do it manually, you will have to add the items one by one. In the left menu: Catalogue - add items. The following options will appear:
-Manual: Add the items yourself.
-Data list.
-Partner platform: If you already have an ecommerce, some of the sites with which Facebook has an agreement are Shopify, BigCommercer, Channel Advisor, CommerceHub...
-Pixel.
Finally, once you are adding the products individually, you will be able to configure the following details:
- Name
- Description
- Price
- Product status (New, second hand)
- Availability (in stock, out of stock)
- Offers
- Possibility to archive and hide the product
- Content identifier (very useful for advertisements)
- Image
how do I finish creating my shop and create a good design?
Now that you have uploaded the products, you can organise the shop by managing the design and configuration: in the menu on the left, click on SHOP - EDIT SHOP.
- Design: This is to configure how the products in the catalogue you have created will appear. There are two types:
-Dynamic layout: Facebook decides which product appears first based on what the user might be interested in. This is very useful if you have a wide variety of products and different market niches.
-Manual design: You can design your front page, what appears in the foreground or in any space in the shop.
- Configuration:
-Visibility: this is where the shop is displayed, on Facebook or Instagram. It will need further verification from both apps, i.e. Instagram will check your shop to see that you comply with internal policies before allowing the shop to be active.
-Inventory: This can be default, i.e. all visible items will be shown, although you can hide the ones you don't want to show manually; or advanced, the ones you have added manually will be shown first, on the homepage, the ones you have tagged in posts...